Preparation:
Every doggy photoshoot needs a few items to grab your pet’s attention. Utilizing their favorite treats, a toy they really enjoy, or even a calming spray like Adaptil, can help the process be more relaxing for your pet. If you’re going outdoors, make sure to bring some water and a collapsible bowl to hydrate your model. Don’t forget to make sure that your pet is current on their flea and heartworm prevention! A dog that’s constantly scratching due to fleas is not only uncomfortable, but also doesn’t photograph well.

Location:
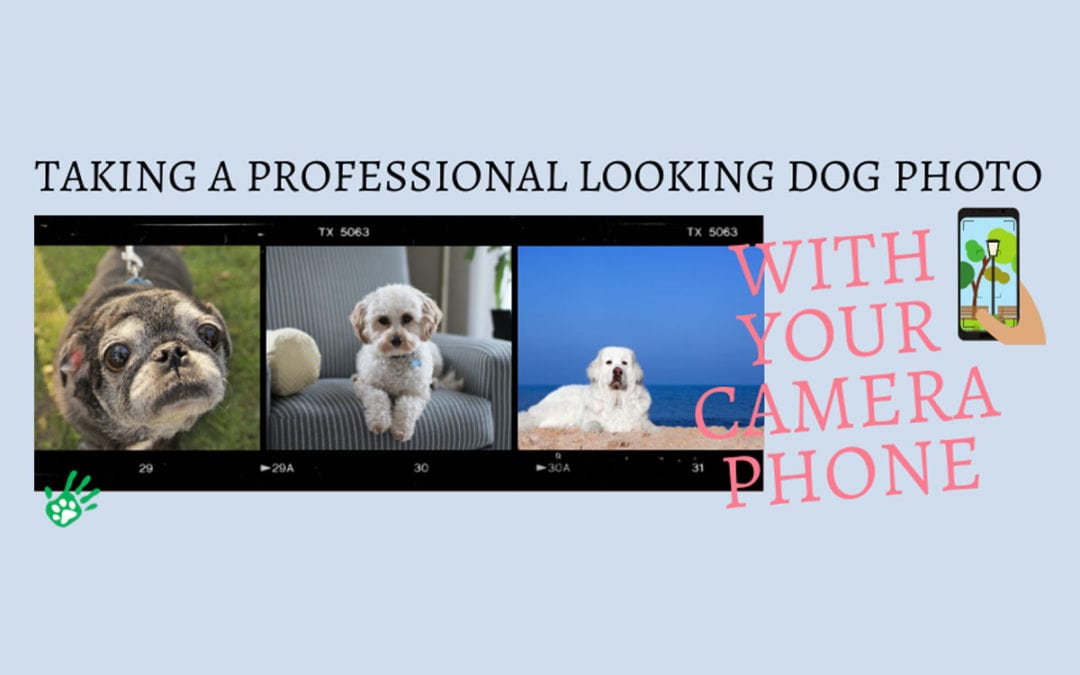
Should you take your photo outside or inside? That depends on what you want to accomplish with your photo. Are you looking for something that shows off your pet’s more playful side? Then the outdoors is a great choice! However, if you’re looking for something more clean-cut or modern, then keeping your photoshoot indoors is the way to go. Wherever you choose to take the photo, make sure that it’s a safe location for your dog to be off leash.

Background:
If your photoshoot is outdoors, then the scenery is your background! Do you want a picture of your pet in a particular pose (standing, sitting, mid-trick)? You can use treats to help get your model to pose, and a blanket as a tool to help your pet know where you want them to stay. Take your photo in front of a playground, some flowers, a tree, the beach, or anything that catches your eye. You can even choose to take a close up photo, which means that the background doesn’t matter as much! Let’s say you want to keep it indoors (maybe because your brachycephalic dog doesn’t do well in the heat!). A sitting picture in front of a white wall or blanket can end up looking clean-cut and professional. Feel free to experiment with blankets, wall decoration you already have up, a pillow they can sit on, or a heart-warming shot with a family member.

Lighting:
Natural light can produce professional looking photos without professional equipment! Have your dog face towards the source of light, not in front of it. To make the most of soft lighting, take your photo on a cloudy day. If it’s sunny outside, you can photograph your pet in a shaded area to get the right amount of light.
If your photoshoot is indoors, consider moving to a spot that has some natural light coming through (like in front of a large window).

Shooting:
Once you’ve decided on your location, background, and lighting, you can start the shoot! Don’t be afraid to take as many photos as you can. You’re more likely to get the perfect shot this way, and you can always delete the ones you don’t like later! Remember that you can always add a filter later, so it’s best to take normal shots during the shoot so that you aren’t stuck with one design. Most phones have a “portrait mode” setting. Portrait mode will keep the subject of the photo, you’re amazing pet, the focus while the background falls out of focus.

Posting:
Post the heck out of your amazing photo! Facebook, Instagram… but don’t forget your veterinary clinic! We want to see those cute photos too! Our goal is to keep your pet happy and healthy, so that you can have many years and MANY pictures together!

